How to create subtitles and captions for YouTube videos (even if you are not the owner of the video)
September 21, 2020
Follow these steps to create subtitles for YouTube videos in a simple and fast way
Creating subtitles for YouTube videos is a great way to make your content more accessible and reach a wider audience. Here's how you can do it:
- Go to Captionfy: Visit www.captionfy.com.
- Enter the YouTube video URL: Paste the URL of the YouTube video you want to subtitle in the search bar on the homepage.
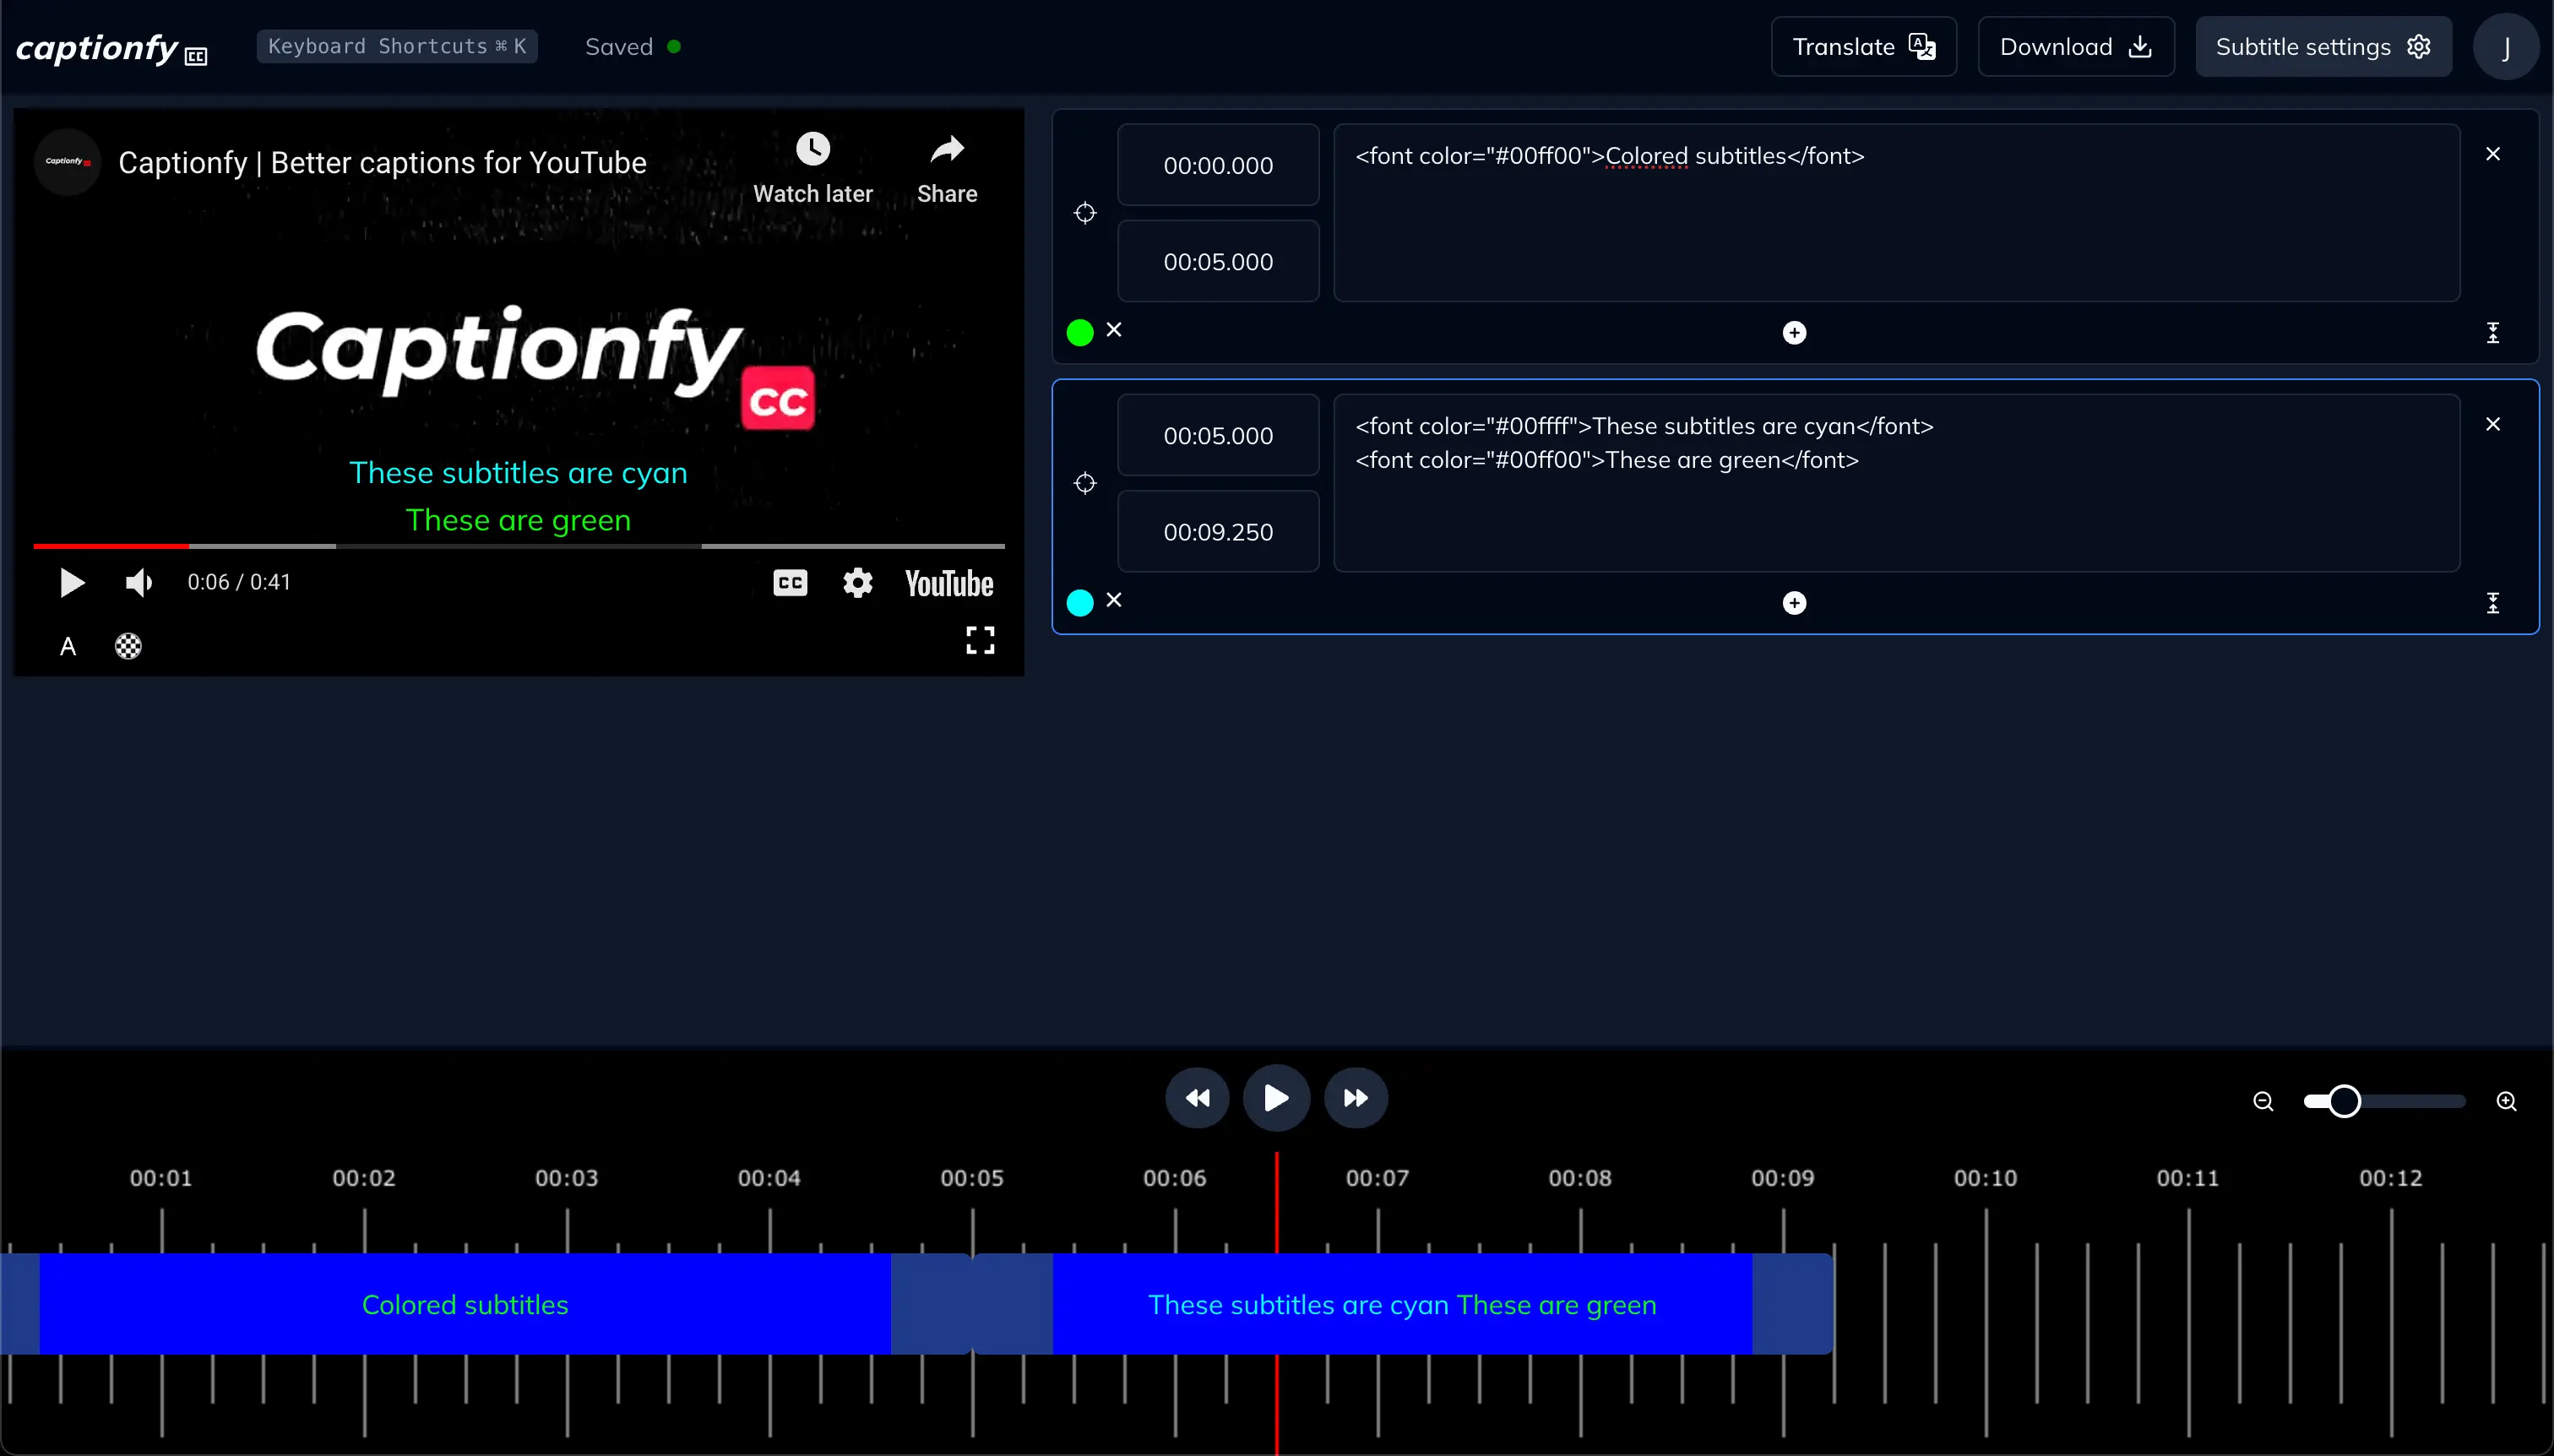
- Start captioning: Once the video loads, you can start adding your captions. The editor will automatically pause the video after each subtitle, making it easier for you to keep up.
- Edit and refine: After you've finished adding all the captions, take some time to review and refine them. You can adjust the timing, fix any typos, and ensure the captions are accurately synchronized with the audio.
- Save your work: Don't forget to save your progress regularly. Captionfy automatically saves your work, but it's a good practice to manually save as well.
- Download or share: Once you're satisfied with your captions, you can download them in various formats (SRT, VTT, etc.) or share them directly on the Captionfy platform.
Remember, you can create subtitles for any YouTube video, even if you're not the owner. This is a great way to contribute to the accessibility of content you enjoy or find valuable.